
The Ultimate Guide to Garage Door Installation: From Selection to Seamless Setup
Garage doors are not just functional barriers; they’re an integral part of your home’s exterior aesthetics and security. Whether you’re upgrading an old door or installing one for the first time, getting it right is essential. In this comprehensive guide, we’ll walk you through every step of the garage door installation process, ensuring a seamless transition from selection to setup.
Choosing the Right Door:
Before diving into installation, it’s crucial to select the right garage door for your needs. Consider factors such as material, style, insulation, and budget. Steel doors offer durability and low maintenance, while wooden doors add a touch of classic charm. Insulated doors help regulate temperature and reduce energy costs, making them ideal for climate-controlled garages. Once you’ve narrowed down your options, measure the opening carefully to ensure a perfect fit.
Gathering the Necessary Tools:
A successful installation requires the right tools. Here’s a basic list to get you started:
- Power drill
- Level
- Tape measure
- Screwdriver
- Hammer
- Ladder
- Safety goggles
- Sawhorse or workbench
Additionally, most garage door manufacturers provide installation kits with specific hardware tailored to their doors. Be sure to have everything on hand before starting the installation process.
Preparing the Workspace:
Before installing the new door, clear out any clutter from the garage and ensure there’s enough space to maneuver. Lay out all the components of the door and hardware in an organized manner for easy access during installation. If you’re replacing an existing door, remove it carefully, taking note of how the hardware is installed for reference later.
Installation Process:
- Attach the Weatherstripping: Install weatherstripping along the bottom of the garage door to prevent drafts and moisture from seeping in.
- Install the Tracks: Secure the vertical and horizontal tracks to the frame using a level to ensure they’re straight and properly aligned.
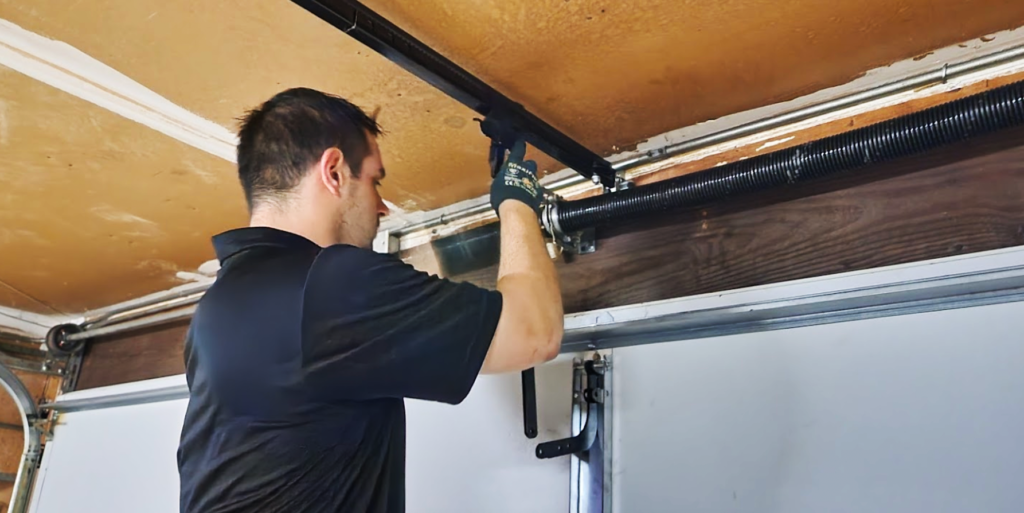
- Mount the Springs and Hardware: Follow the manufacturer’s instructions to install the torsion or extension springs, cables, rollers, and hinges.
- Hang the Panels: With the help of a friend, lift each panel into place and secure them together using hinges.
- Install the Opener (if applicable): Mount the opener according to the manufacturer’s instructions, ensuring it’s positioned securely and connected to power.
- Test the Door: Once everything is installed, test the door’s operation to ensure it opens and closes smoothly without any hitches.
- Final Adjustments: Make any necessary adjustments to the tracks, springs, and opener settings to achieve optimal performance.
Safety Precautions:
- Always wear safety goggles and gloves when working with power tools and heavy materials.
- Use proper lifting techniques or seek assistance when handling large garage door panels.
- Follow the manufacturer’s instructions carefully to avoid accidents or damage to the door.
Installing a garage door may seem like a daunting task, but with careful planning and the right tools, it’s a manageable project that can enhance your home’s functionality and curb appeal. By following this guide and exercising caution throughout the process, you’ll soon enjoy the convenience and security of a brand-new garage door.
Garage doors are not just functional barriers; they’re an integral part of your home’s exterior aesthetics and security. Whether you’re upgrading an old door or installing one for the first time, getting it right is essential. In this comprehensive guide, we’ll walk you through every step of the garage door installation process, ensuring a seamless…